
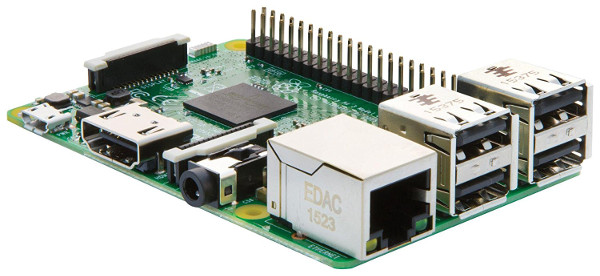
It has arrived, in three shiny boxes from Amazon. Time for the initial Raspberry Pi setup.
First decision, do I unplug my computer monitors or do the setup on the TV. I went for the latter. Physically getting the Raspberry Pi into the case, with preinstalled NOOBS card was simple. I plan to use SSH to configure and maintain it, but for the setup, it made sense to plug it into the TV, adding a USB mouse and keyboard, and then go through the initial setup screens.
Before selecting the OS to install (I went for the base Raspian OS distro), I setup WiFi via the GUI. It took about ten minutes to install, and I was surprised to see a full Linux desktop. I don’t really need this, but I can see the appeal for some.
Delving into the Accessories menu revealed a terminal application window, so the rest of this was done from there.
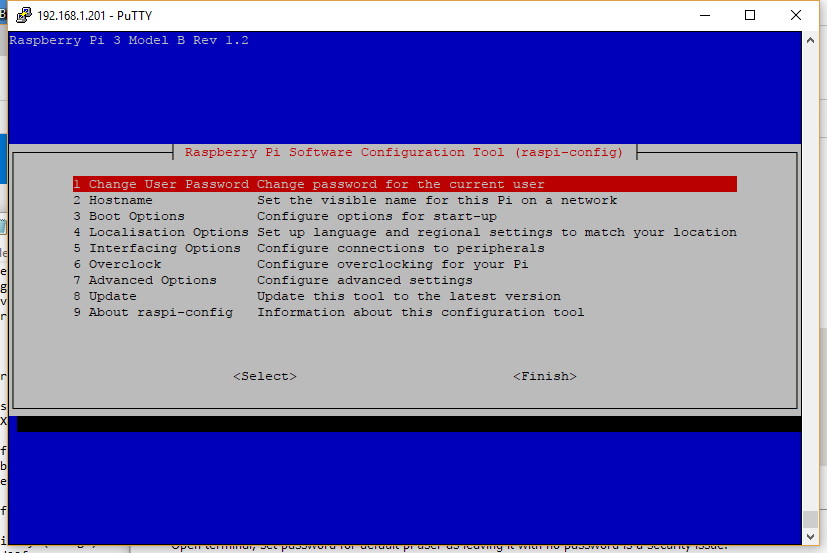
From the terminal window, I ran
raspi-configto set some initial options up, such as creating a password for the default ‘pi’ user account, changing the hostname, setting the boot options to not start the GUI and from the interfacing options, set SSH server to run at startup.
After that, I used the following commands to setup my own user account:
sudo adduser username
sudo usermod -G sudo username
sudo password username
Next, I edited /etc/dhcpcd.conf to give it a static IP address by adding the following to the bottom of the file:
interface wlan0
static ip_address=192.168.1.201/24
static routers=192.168.1.1
static domain_name_servers=192.168.1.1
It is worth noting that there were various forum posts and blog entries on how to do this, and many had responses of mixed results. Whether the issues were version specific I don’t know, so your mileage may vary. From here I rebooted, verified it was all working, including checking the ability to SSH into it, I use the Putty client on Windows. Then I moved it into my office and just plugged in the power supply, with no keyboard, mouse or monitor attached. Before going any further, I realised I hadnt specified a default shell and I prefer to use Bash, so a quick ‘sudo vi /etc/passwd’ to add ‘/bin/bash’ to my new user account. This could have been achieved using the ‘adduser’ command but I didn’t think of it. Next up was updating the Linux packages. It is worth doing this often.
sudo apt-get update
sudo apt-get dist-upgrade
It prompted me part way through to decide whether to retain my changes to /etc/dhcpcp.conf, which I kept as I wanted it to have a static IP.
The final piece, was to install NodeJS. Initially I followed a tutorial from W3Schools which normally give some great tutorials, but this time around, it didnt work – a testament to how quickly things move on in the open source community. I then tried the following, which is a fairly standard way to do the install:
sudo apt-get install npm
npm-v
node -v
This reported version 1.4.21 and 4.8.2 respectively. My Linux server is running version 5.5.1 and 8.4.0 respectively, so very much out of date. I am conscious that I may want to use NodeRed with the Pi, so found a script that performs the update for you, removing old packages as it goes:
update-nodejs-and-noderedThis left me with a much more recent version of Node and NPM.
The next task in my list, is to configure up a basic webserver, the subject of another blog post. I also want it to connect to my NAS for media (music and films) so that will need to be a separate post too.
To see all the internet of Things blog posts, click here.